

One Codex setup guide to get you started with coding agents, plus 7 workflows to try first

A lot of people open a coding agent for the first time and have the same reaction: okay, now what? That reaction makes sense. Coding agents are becoming a normal part of serious AI work, but the category still explains itself like it belongs to engineers. The opportunity is wider: if you know your work deeply, coding agents like Codex can help you build around that knowledge.
I explained what coding agents are, and why people starting from zero with code should pay attention, in another piece. This guide is the practical follow-up: how to set up the Codex app and get to the first few things worth trying.
If you are a subject-matter expert, you already know where the annoying parts of your work are. Codex gives you a way to build around that knowledge. Not because you are trying to become a software engineer, but because Codex can help with the technical surface area: reading files, creating files, editing pages, running checks, building small local tools, and turning rough material into something you can actually open and use.
That is the shift. The expert is still you. Codex does not know what matters in your work until you tell it. But once you give it the folder, the goal, the boundaries, and the standard, it can turn your judgment into artifacts: tiny apps, workflow helpers, checklists, dashboards, project pages, reusable skills, and setup files that make the next run better.
This guide is the first step into that. We are going to set up the Codex app, keep the first folder safe, and run one small task you can inspect before we get more ambitious.
What to expect in this guide
First, I’ll get you through installing and setting up the Codex app without needing to understand developer tooling.
Then I’ll show you how to point it at one safe folder and run a first task where you can see exactly what Codex did.
After that, we’ll get to the part most people get stuck on after installing: what to do first. The seven starter workflows give you a small, concrete feel for what coding agents can do, and create an on-ramp toward doing much more interesting things, including building small apps for yourself.
Before you install it
You need three things before this setup becomes useful.
First, you need access. Codex is available across ChatGPT plans, with features and limits varying by plan. Plus, Pro, Business, Edu, and Enterprise include broader access. You can also sign in with an OpenAI API key, though some functionality may not be available that way.
Second, you need a Mac that can run Codex. The Codex app is available for Windows too, but in this guide, I’m taking you through the Mac workflow.
Third, you need one folder for Codex to work in. This is more important than it sounds because the folder is not just “context.” It is the material Codex can inspect and modify, depending on permissions. Do not start by giving Codex your whole Desktop, Downloads folder, or home directory. Make a small folder you understand, or choose one project you are comfortable letting it inspect.
Think of the first folder as the desk. Codex can do better work when the right materials are on the desk. It is also safer when unrelated files are outside the workspace.

Step 1: Download Codex for your Mac
Go to chatgpt.com/codex/ and click Download for macOS.
You do not need to install the command-line version first. The desktop app is the easiest starting point.
Step 2: Install it and Sign in
Install Codex the way you would install any other desktop app. On Mac, that usually means opening the downloaded file and moving Codex into Applications.
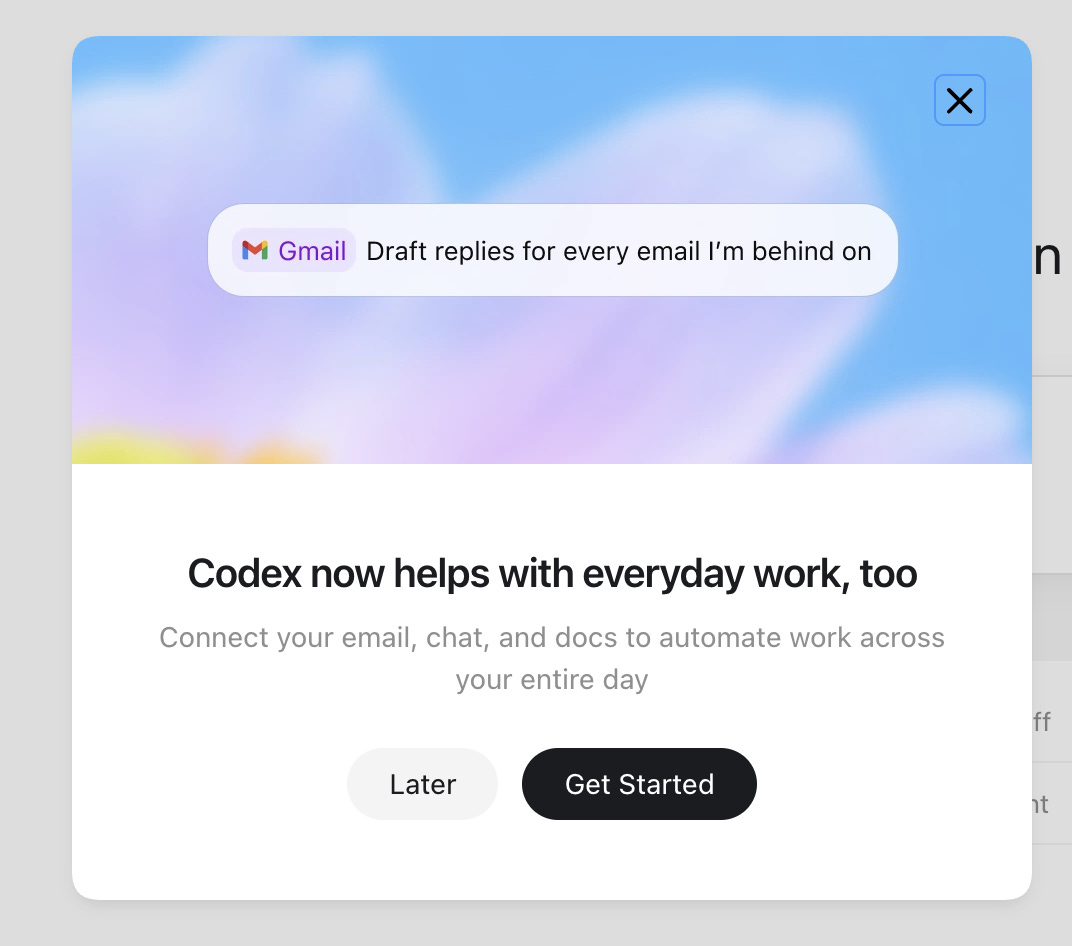
When you open Codex for the first time, your computer may ask for normal app permissions. Do not rush through those dialogs. Read what the app is asking for. Most setup prompts are routine, but this is a tool that can work with files and run commands, so it is worth building the habit now.
You do not need to grant every possible permission on day one. Start with the app, a project folder, and the default safety settings. Add more later when a real task needs it.
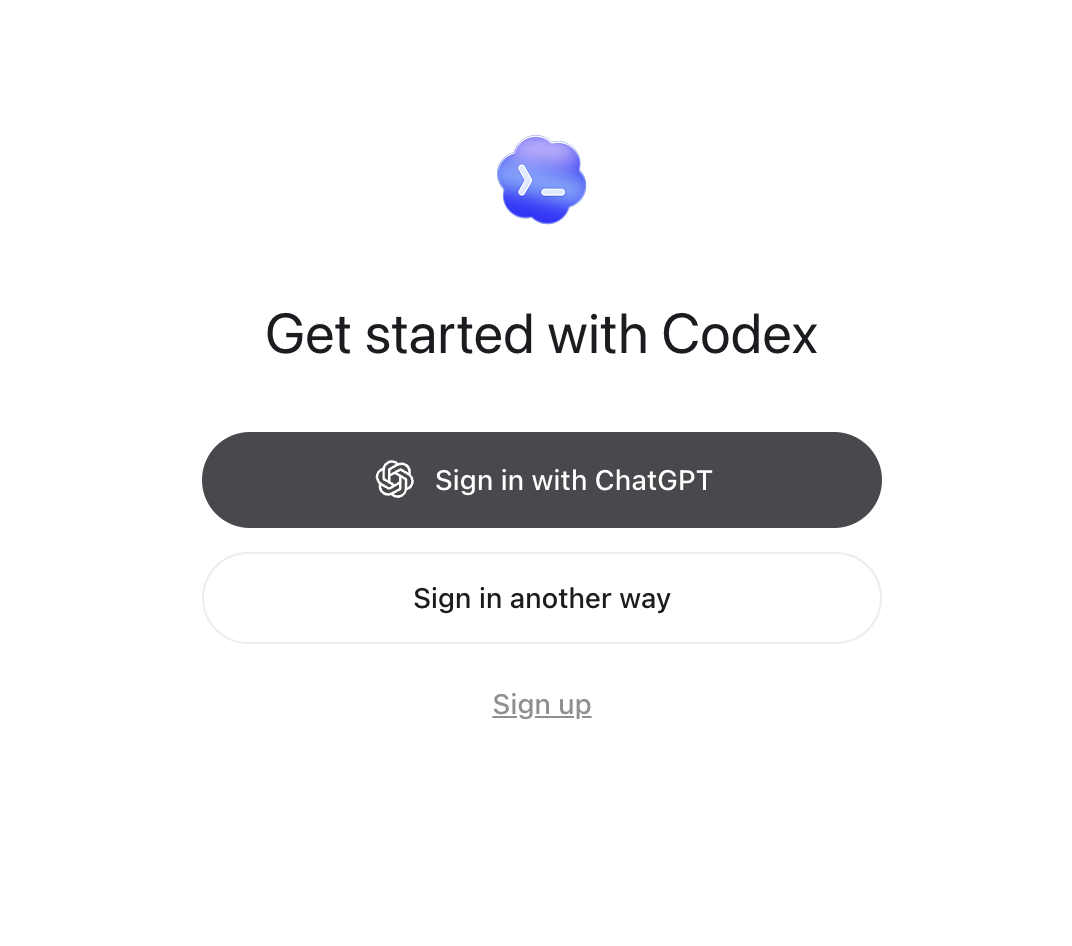
If you use a work account, make sure you are in the right workspace before you start adding projects.
Step 3: Add one real project folder
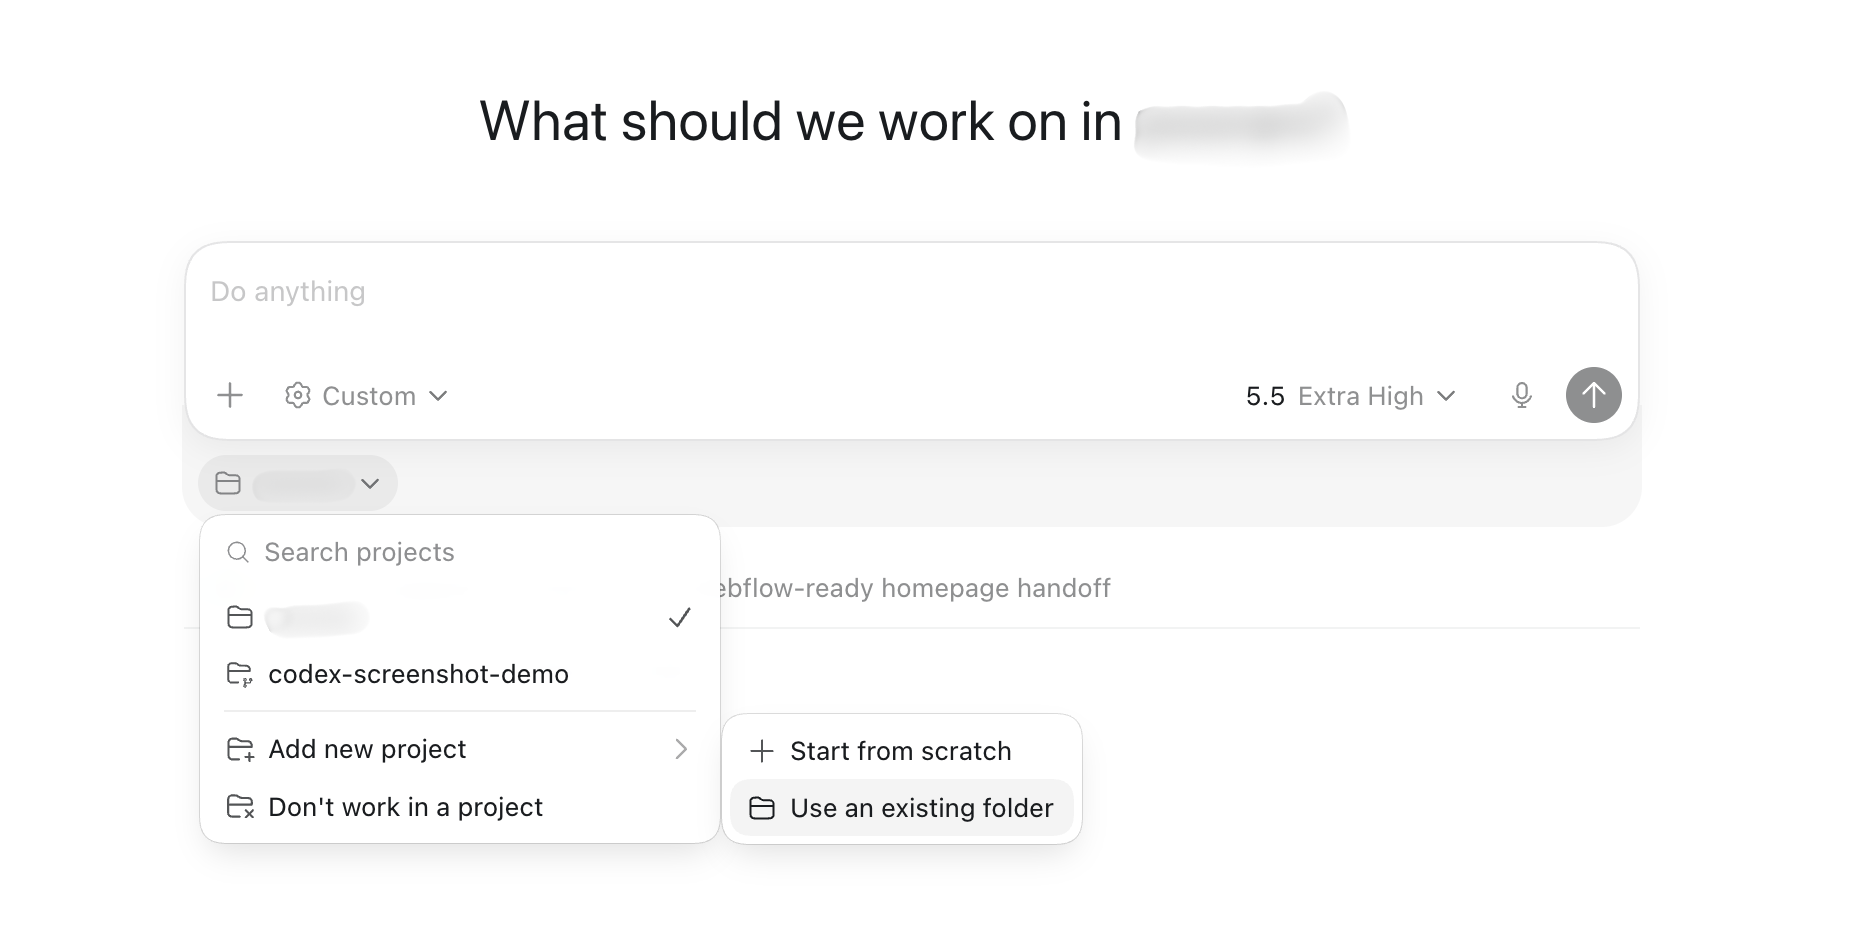
Codex will ask you to select a project. Pick one folder.
Pick a folder that matches the thing you want help with. That might be a writing project, a small website, a spreadsheet cleanup folder, a local app, a folder of notes, or a Git repository. The important part is that the folder has boundaries you understand.
This is both a quality move and a safety move. Codex works better when the context is not a junk drawer. It is also easier to review what happened when the work stayed inside one place.
A good first folder gives Codex two things at once: the sources it should use and the boundary it should stay inside. That is the habit to build early. Do not make the agent guess where the work lives, and do not give it more room than the job needs.
If you have one repository with several separate apps inside it, consider opening the specific app folder instead of the whole repository. Codex can handle larger folders, but starting smaller makes the first session cleaner.
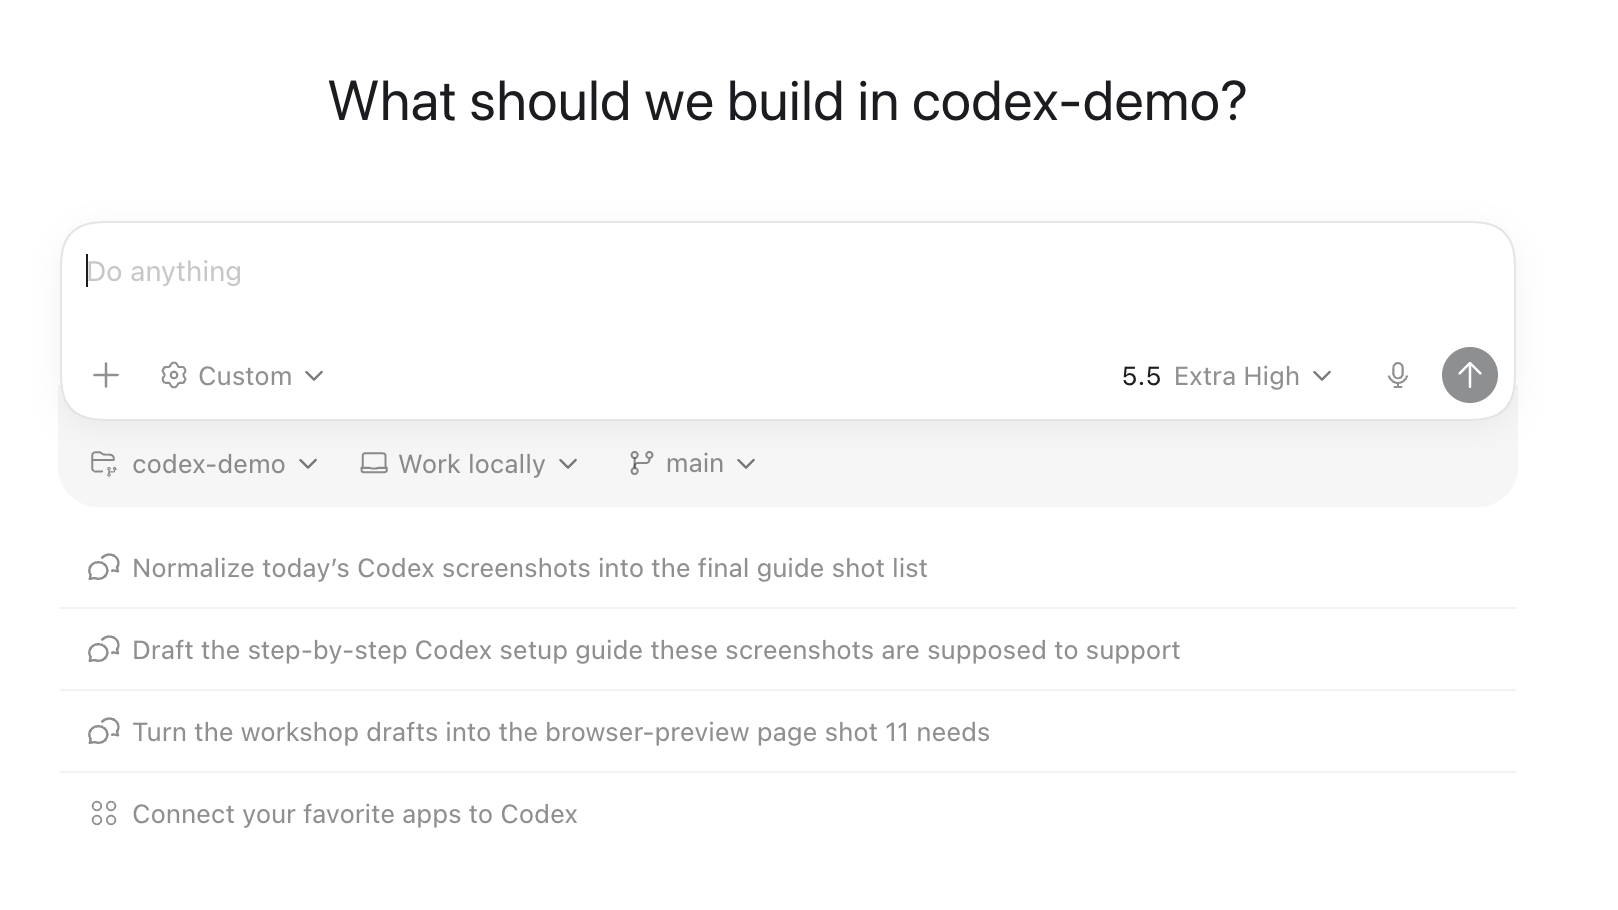
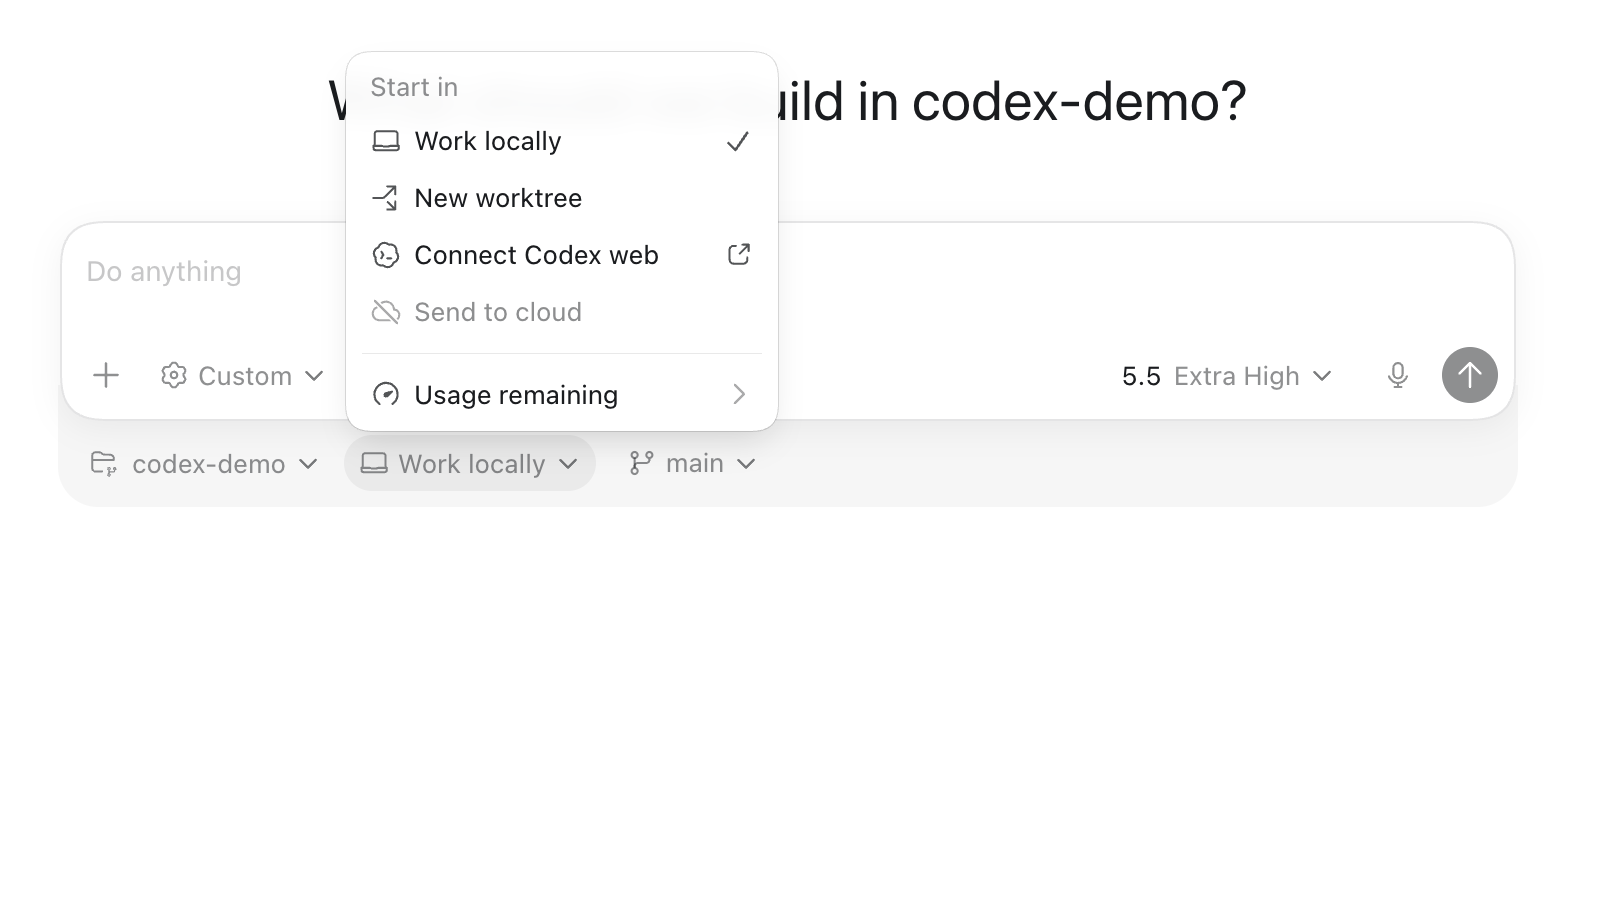
After you choose the folder, check the project chip under the composer. If it says codex-demo, Codex is pointed at codex-demo as the active project. That little chip is the simplest way to confirm you are asking Codex to work in the place you intended.
Step 4: Start in Local mode
When you create a thread, Codex can run in different modes.
For the first setup, choose Local.
Local means Codex works on your computer, inside the project folder you selected. That is the easiest mode to understand because the files are right there. You can inspect them, open them, undo changes, and see what Codex did.
If your app shows an everyday-work setup option, choose it for drafts, docs, folders, and general projects. That does not make Codex weaker. It helps frame the app around that kind of work.
Worktree mode is useful later when you want Codex to try changes in an isolated copy of a Git repository. Cloud mode is useful when you want work to run remotely, but it generally requires a configured remote environment and, for repository work, GitHub or repo setup. It is not a magic “send any folder to the cloud” button. Both are worth learning eventually. But for a first setup, Local is the right move because you can see the relationship between the folder, the thread, the terminal, and the files.
Step 5: Start with Ask for approval
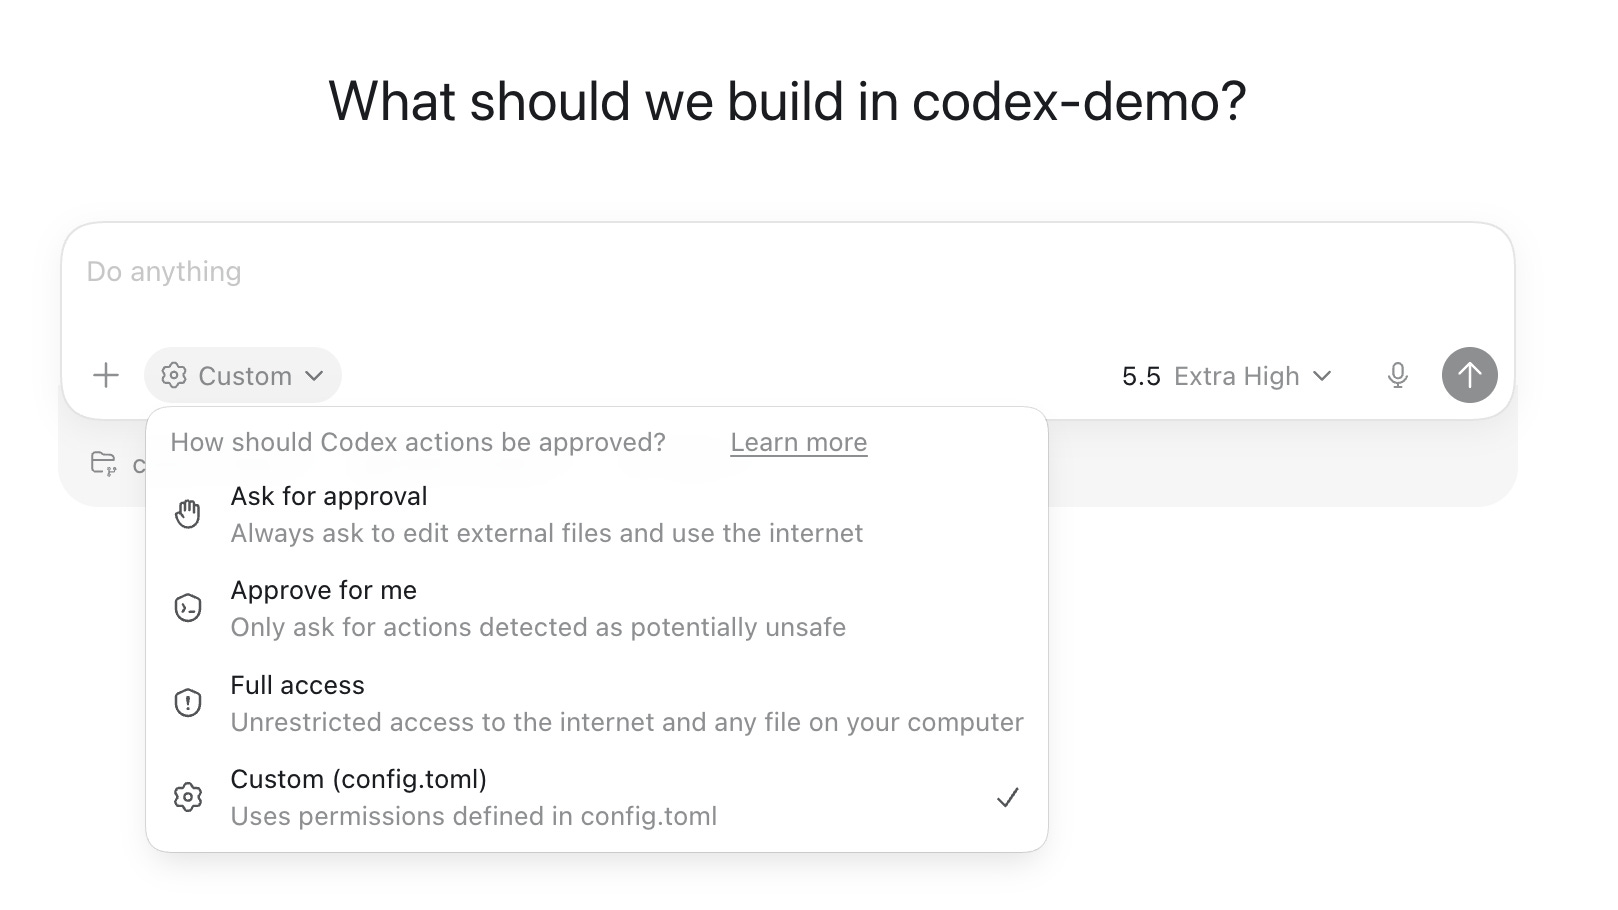
This menu decides how much Codex can do before it stops and asks you.
For your first run, choose Ask for approval.
That does not make Codex useless. It can still inspect the folder, explain what is there, suggest a plan, create files inside the project, and show you what changed. The difference is that Codex has to pause before doing things that need more trust, like editing outside the project folder or using the internet from a command.
That is the right first posture. You are not trying to lock the tool down forever. You are trying to learn what kinds of actions it asks for.
The options are roughly:
Ask for approval: best first choice. Codex asks before broader actions.
Approve for me: Codex asks only for actions it detects as potentially unsafe.
Full access: Codex can use the internet and access files much more freely, including files outside the project. Save this for workflows you already understand.
Custom (config.toml): Codex follows permissions from a configuration file. Useful later, not required for setup.
Step 6: Ask it to explain the folder before editing
Before Codex changes anything, ask it to explain the folder back to you.
This is the first supervision habit to build. You are not only checking whether Codex can read the files. You are checking whether it understands the project the way you understand it.
If the folder is unfamiliar, keep the first prompt exploratory. You can make the task effectively read-only by saying exactly that: do not edit files yet.
Here is a good first prompt:
Before changing anything, look through this project folder and tell me what is here.
I want:
- the main folders and what they seem to contain
- any files that look important
- anything that looks risky to edit
- what you would ask me before changing
- one safe first task we could do next
Do not edit files yet.
That prompt does two useful things. It gives Codex a job, and it tells Codex what not to do.
The deeper pattern is the one you want to reuse later: give the agent a goal, the sources it should use, a standard for what good looks like, a boundary around what it can touch, and a way to check the result. You do not need fancy language for that. You just need to stop giving it only the goal.
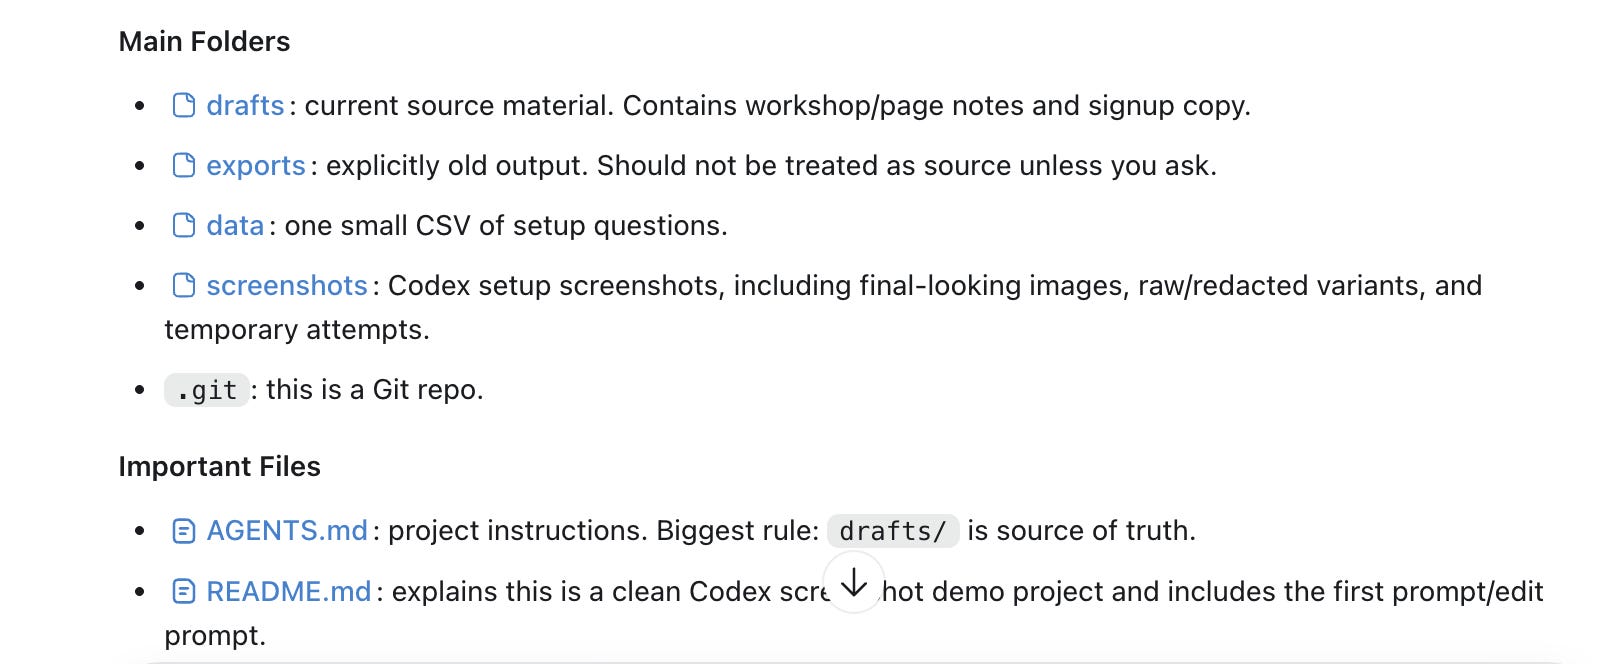
After Codex reads the folder, do not immediately ask it to start working.
Read its summary first. Does it understand what the folder is? Did it identify the right files? Did it miss the obvious thing? Did it treat a random export as if it were the main document?
Step 7: Let it make one tiny, reversible artifact
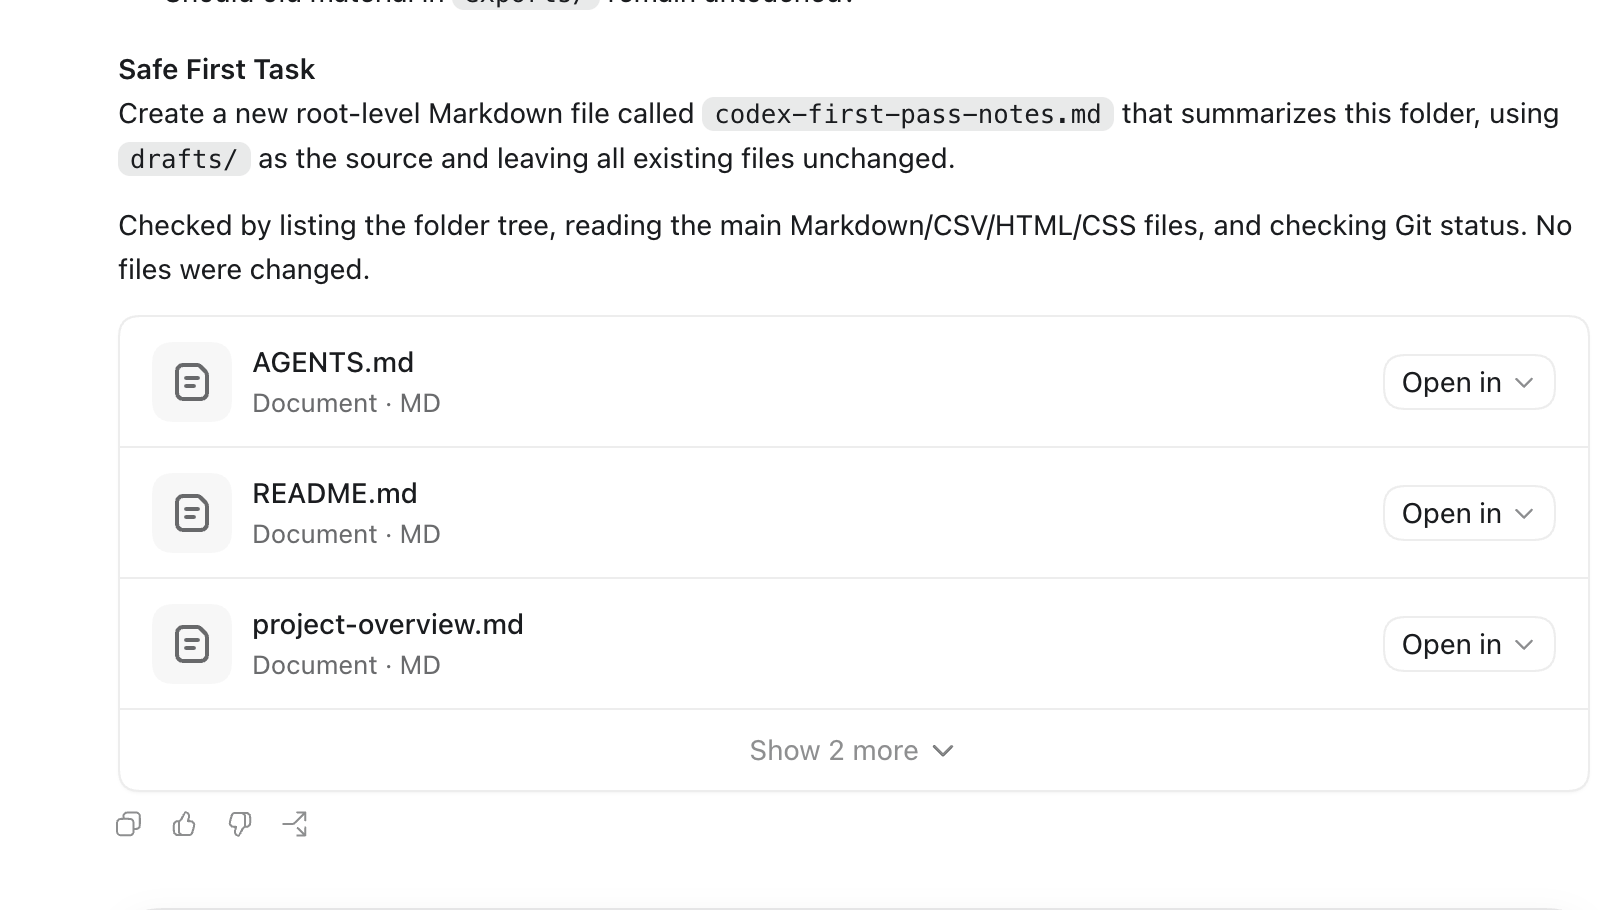
Now give Codex one small thing to create.
For example:
Create a new Markdown file called codex-first-pass-notes.md.
In it, summarize what this folder is for, what files seem most important, and what you recommend we do next.
Good looks like: short, plain, and useful to someone opening this folder tomorrow.
Use only what is already in this project folder. Do not change any existing files.
At the end, include a short “Things to check” section for anything you are unsure about.
That is a good first action because it is low risk. It creates one new file. It does not overwrite anything. It gives you something concrete to review. And it shows you the basic loop: prompt, work, inspect, respond.

That is enough for the setup half. You have Codex installed, pointed at one folder, working locally, with permissions you understand, and you have watched it create one small file instead of just chatting about the work.
From here, the question changes. Setup is no longer the interesting part. The interesting part is how you give Codex enough structure to do useful work again and again: folder rules, reusable workflows, better assignments, browser-based inspection, small artifacts, and a way to learn from the first week of use.
That is what the next section is about. The operating habits that turn Codex from “an app I opened” into a working environment you can actually build with.
